Vinyl wrap is removed when an owner wants the original colour back, a replacement wrap, preparation for sale or access to a damaged panel. The method depends on the material, its age, the adhesive and the paint underneath. Knowing only that a car is wrapped in vinyl cannot establish the removal time or the condition of the body afterwards.
This guide explains removal stages, adhesive residue, paint marks, time and pricing, and the questions to consider before DIY work. If you are choosing a new finish, see our vinyl and coloured protective PPF wrapping service. Old film removal and preparation are assessed separately.
Contents
How the material affects removal
Decorative vinyl has a film and adhesive layer; the release liner is taken off during installation. Thickness, construction, surface treatment and adhesive properties vary by series. Coloured vinyl, printed graphics and polyurethane paint protection film can have different removal requirements. Start by identifying what is on the car.
Age and use affect how a wrap behaves. Old, damaged or heavily sun-exposed material may come off in small fragments. Edges, tears, overlaps and film tucked under trim change the amount of work. Age alone does not reveal how much adhesive will remain or how sound the paint is underneath.
Manufacturers describe removal conditions for their products. For example, 3M Instruction Bulletin 6.5 relates the method and peel angle to the film and substrate. Series 2080 also has its own removal guidance. These documents help assess the actual material; their conditions do not establish one process for every car.
Explain the reason for removal in advance. Returning to the previous colour, replacing a damaged section and installing a fresh full wrap require different preparation results. For sale preparation, visible defects and the paint history should be checked before agreeing on further work.
Film removal and adhesive cleaning stages
The sequence is planned after inspection. Access to edges, panel condition, previous resprays and material requirements matter. An initial area helps assess how the film behaves and refine the work. Checking one section does not establish the condition of the entire body.
- Inspection and preparation. Identify the wrapped areas, visible tears and signs of repair, and discuss the purpose of removal. Prepare the surface so loose dirt does not interfere with the work.
- Selecting the method. Where the material needs heat, choose the conditions according to its instructions and the substrate. The tool setting and the actual surface temperature are different measurements; touch alone is not an adequate temperature check.
- Accessing an edge. Check tucked edges, seams and areas under parts. Any access or disassembly needed should be agreed before work. Scratching paint with a sharp tool creates a separate problem.
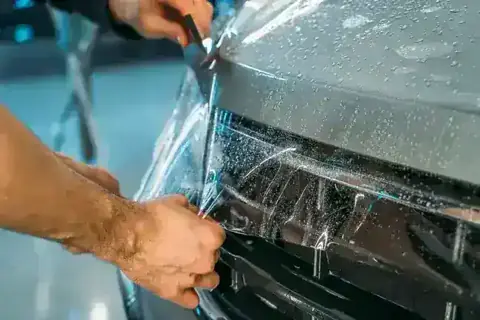
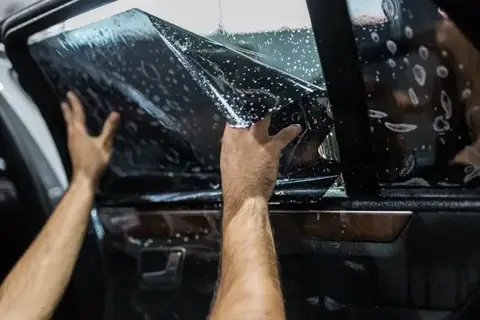
- Removing the film. Choose the angle, force and pace for the material and tested area. If film tears or paint comes away with it, reassess the method and the remaining work.
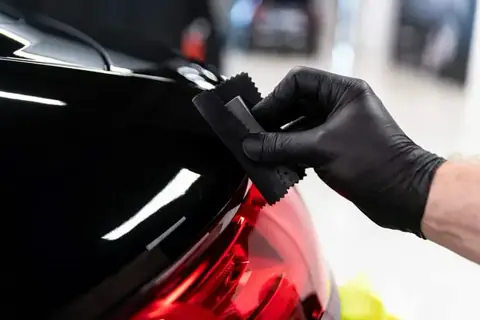
- Cleaning adhesive. Assess residue separately. The product must suit the surface and task; check its instructions, contact time and performance on a small area. Avoid unnecessary rubbing or damage to the finish.
- Checking the body. After removal and cleaning, assess paint, differences between areas and the preparation needed for the next task. Agree on polishing, paint repair or a new wrap according to the condition found.
Adhesive can remain after removing a quality film. The amount depends on the material, conditions and state of the wrap. An adhesive remover contacts the surface, so compatibility matters. One fixed alcohol concentration or dwell time cannot describe every paint finish, plastic part and film series.
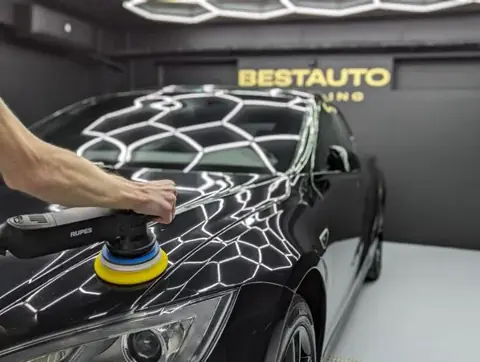
If haze or an outline remains after cleaning, identify the cause first. Car polishing may suit some superficial marks, but it should be chosen after assessing the clearcoat. New film needs a prepared substrate; the appropriate preparation depends on panel condition and the material instructions.
What may be under an old wrap
A well-preserved finish. Paint under a wrap can look good. The outcome depends on its original condition, installation and use. Inspection of exposed areas provides useful information, while hidden areas become accessible as removal proceeds.
Differences between covered and exposed areas. After partial wrapping, differences in gloss, contamination or colour may be visible. Distinguish adhesive residue from a change in the paint itself. Cleaning or polishing addresses suitable surface problems; its ability to improve a particular area must be assessed. A full polish cannot be assumed to reverse colour fading.
Weak paint or a resprayed panel. Delaminating clearcoat, poorly bonded paint and some repair finishes may be damaged or show an existing problem during removal. Mention repainted parts, even if the repair was some time ago. Discuss visible signs and the limits of assessing a hidden surface before work.
Brittle film and difficult adhesive. Environmental exposure, damage and material properties can make removal harder. Smaller sections and additional cleaning may be necessary. The original film price alone does not establish its condition, and extra time cannot be calculated with one multiplier for every car.
A manufacturer's conditions for removal from factory paint relate to the specified product, installation, use and period. They cannot automatically be applied to an unknown material, repair finish or damaged clearcoat. Preliminary assessment helps plan the work; the actual hidden condition is confirmed as the surface is uncovered.
What determines the time required
Before inspection, identify the scope of the task rather than assigning the same number of hours to every hood or days to every full car. Time is needed to remove the material, clean adhesive, handle complex areas and check the result.
- Area. One panel, several parts and a full body involve different amounts of work.
- Geometry and access. Tucked edges, grilles, trim and complex curves need attention.
- Material condition. Tears, brittleness, multiple layers and adhesive residue change the process.
- The substrate. Repair history and visible defects affect the method.
- The next stage. Returning to the previous appearance, paint repairs and a new wrap each need their own plan.
Agree on the removal time and the new project's schedule separately. For combined work, discuss cleaning, preparation and installation as a sequence. Photos help assess the area and visible defects beforehand; the actual behaviour of the adhesive and material may require clarification after inspection or when removal starts.
Risks and DIY removal
Adhesive and mechanical marks. Trying to clear residue quickly with a dirty cloth, hard tool or unsuitable chemical may damage the surface. Identify the product and substrate, then test the method. If a mark does not change, increasing friction may be inappropriate: it could already be a surface defect.
Paint damage. If paint comes away with the film when an edge is lifted, or delamination becomes visible, stop and assess the panel. Ordinary polishing cannot replace a missing layer. The appropriate repair is determined after checking the damage.
Heat and tools. Different substrates and adjacent parts respond differently. Suitable tools, surface monitoring and working conditions are needed according to their instructions. Observe chemical product requirements and ventilation; heat near solvent residue or vapour requires attention to safe working conditions.
A hidden condition. Careful removal cannot make unknown paint predictable beforehand. A studio can test an area and adapt the method, while the result still depends on the surface that was beneath the film before work.
Before a DIY decision, consider whether the material and instructions are known, the paint history, edge condition and your tool-handling experience. A wrap's age alone does not make removal simple. If it tears, paint appears on the removed piece or a cleaner changes the surface, reassess the next step with a specialist.
How the removal price is calculated
BESTAUTO discusses removal cost after assessing the area, film, adhesive and substrate. Specify whether you need one panel or the full body stripped, remaining adhesive cleaned or the car prepared for a new wrap. Removal, cleaning, any polishing and new installation should be identified in the quote.
For a new project, the colour wrapping page lists reference prices: full vinyl wrapping from 6900 ₾ and a full colour change with protective PPF from 7900 ₾. These are new wrapping prices. Old material removal and additional preparation are agreed separately for your car.
Send the model, photos of wrapped areas and defects, the material name if known, its approximate age and respray information. We can discuss the task beforehand, then confirm the scope, timing and price at inspection. Any inclusion of removal in a combined order should be explicitly agreed.
Frequently asked questions
Can I remove vinyl wrap myself?
That depends on the material, instructions, substrate and your experience. Establish the series and paint history first. Recent film can still be on a weak repair finish. If it tears, lifts paint or leaves difficult adhesive, stop and discuss the area with a specialist.
How long does full wrap removal take?
Time is assessed from the area, film and adhesive condition, geometry and cleaning required. Agree on it after inspection. If a new wrap or repair follows, include those stages separately in the overall schedule.
What removes adhesive residue from the body?
A product compatible with the paint or other substrate and suitable for the task. Check the instructions and a small area. One alcohol concentration or minute-long dwell cannot be prescribed for every adhesive; a visible stripe may also be a change in the surface.
Why is a wrap outline visible after removal?
Possible causes include adhesive residue, differences in dirt and gloss, or changes in the finish. Cleaning and assessment help distinguish them. Polishing suitability depends on the clearcoat; it cannot guarantee correction of every colour difference or defect.
Can paint come off during removal?
Yes, with weak, damaged or repaired paint. Discuss repair history and visible defects in advance. A hidden surface cannot be fully assessed before removal, so the method and further work are refined according to the condition found.
What to prepare before contacting the studio
Removal starts with the task and identification of the material. Explain whether you want the previous colour back, a section replaced or a new wrap. That helps calculate removal, cleaning and subsequent preparation separately.
- Identify the areas, series and approximate film age.
- Describe any panel resprays or repairs.
- Show tears, lifted edges and adhesive traces in photos.
- Discuss the method, the limits of hidden-surface assessment and the inspection process.
- Agree on the scope, price and schedule of the necessary stages.
All services are available at both studios: Saburtalo and Guramishvili. Our studios are at 78 Guramishvili Avenue and 51 Anna Politkovskaya Street. Choose a convenient studio and send the car and wrap details. After a preliminary discussion, we can inspect the film and visible body areas, then agree on further work.